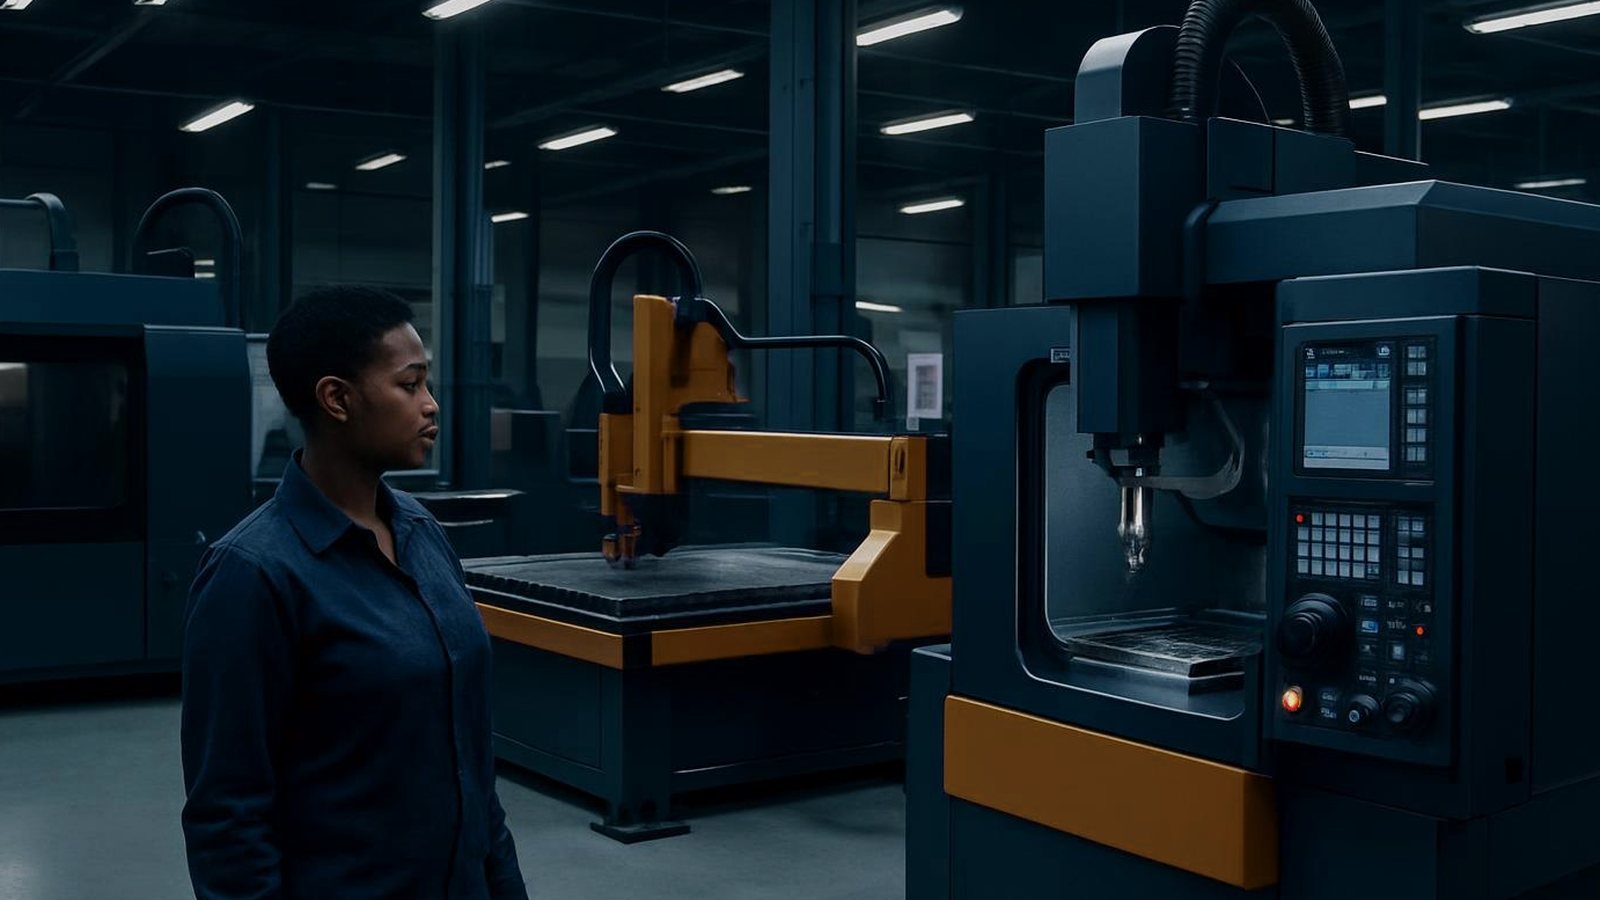
Press brake
The Feature Press Brake Mini is a compact press brake built for forming brackets, short flanges and small parts in tight workshop spaces. Quick to set up, it handles regular jobbing and fixture work.
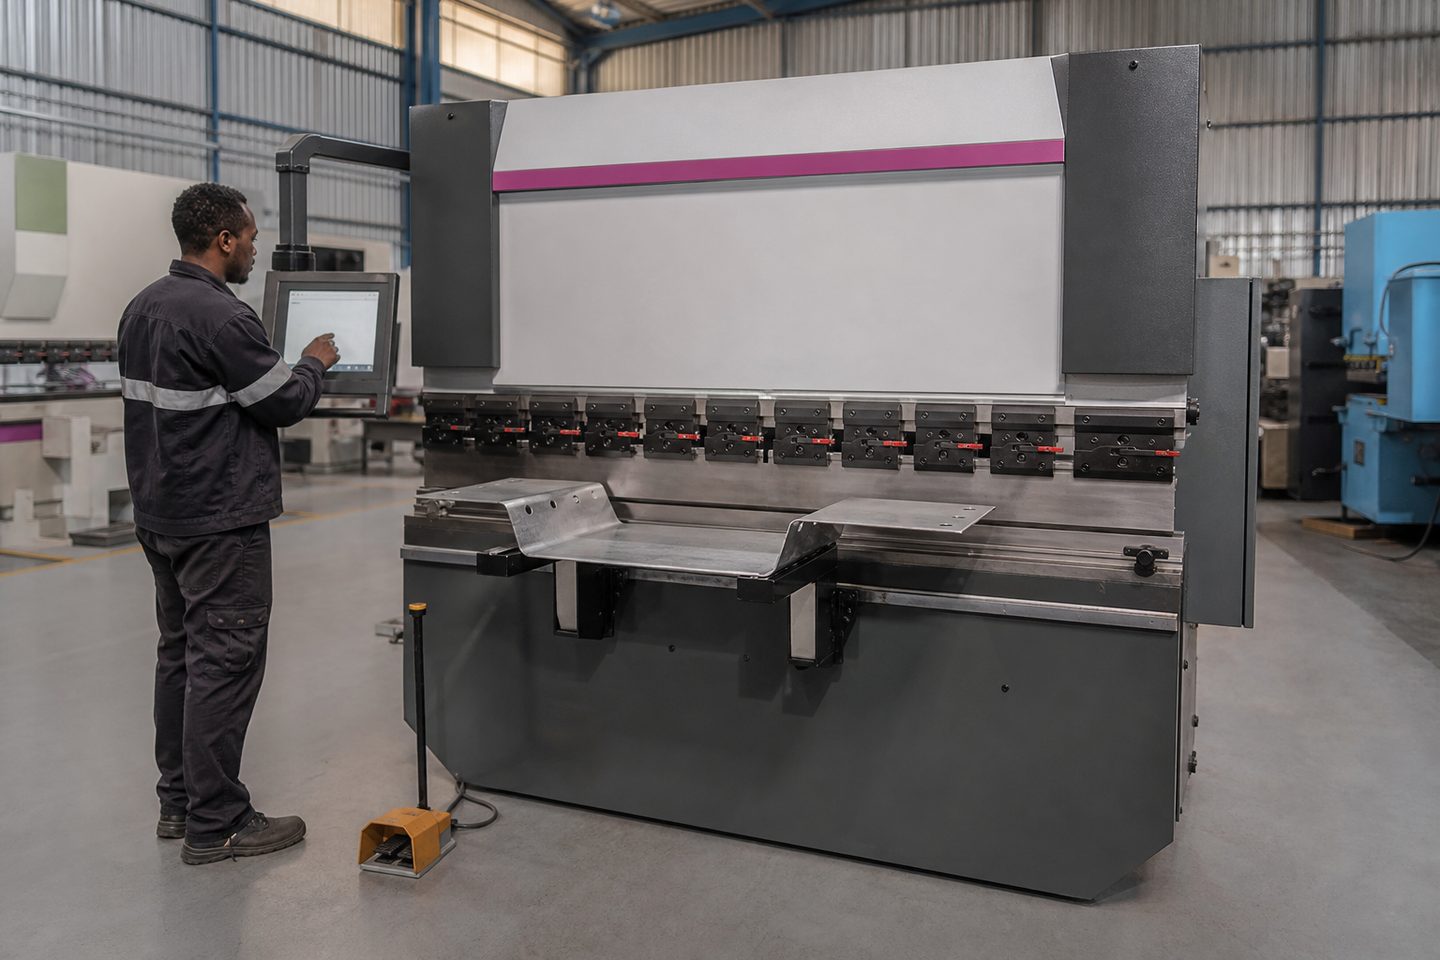
Fab cells pick the mini brake when short flanges should not tie up a full-length brake.
| Tonnage | Compact |
|---|---|
| Length | Short bed |
| Gauge | Manual / CNC cue |
| Ideal for | Brackets |
| Lead | Stock Gauteng |
| Care | Tools + oil |
This press brake is designed for fast, accurate bending of small parts such as brackets, angle pieces and short flanges. It is well suited to fabrication shops, maintenance teams and technical schools needing repeatable bends on short lengths.
Unlike full-size floor brakes, the Mini fits into existing workshops without major rearrangement. It helps job shops avoid long queues for simple bends, especially when only a handful of parts are needed at a time.
The Feature Press Brake Mini is built for mild steel, aluminium and stainless up to moderate thicknesses. Most owners use it for parts under 500 mm, whether from blanks, bar or remnants left over from shear or laser work.
It is ideal for brackets, support tabs, control panel flanges and repair jobs where large machinery would be overkill. If you need to form wide panels or deep boxes, a larger brake is required.
Power your Press Brake Mini from a 230 V single-phase or 400 V three-phase supply, depending on model. South African wiring code (SANS 10142-1) requires any new connection to be certified by a registered electrician.
You need a level, solid floor and enough space for safe material handling and operator movement. Marking the area as a manual handling zone helps with safety. Extraction is typically not needed, but keep the area clear of offcut build-up.
Have your basic tooling set ready: top and bottom dies suited for the thickness and type of work you plan to run. If you use the CNC backgauge, ensure you have access to the required reference points and can keep the unit free of swarf and obstructions.
A Germiston electrical panel builder keeps a Feature Press Brake Mini alongside their punch and shear. They cut mild steel blanks to 250 mm on their guillotine, then bend the return flanges for mounting brackets directly on the Mini.
Using the manual backgauge for repeat positions, the setup takes less than five minutes. Running off standard 230 V power, the operator forms the required bends in batches, freeing up the main floor brake for larger jobs. The shop keeps their most-used dies stored on a labelled shadow board at the machine.
In the first months, new owners sometimes struggle with uneven bends or inconsistent angles. This is often due to worn or mismatched tooling, or an unlevel bed. Always use undamaged dies matched to the thickness you are bending, and check the bed is set up flat before production.
Operators new to press brakes can also misjudge the backgauge position or forget to check for tightness in all fasteners after transport. Train every operator on safe use, and inspect the machine weekly for loose hardware and signs of wear.
Keep records of which dies suit each thickness and radius, and store them clean and oiled. Avoid crowding the work zone with offcuts or tools to prevent accidental damage or injury.
Verified Google reviews