Bay
The packaging die bay is set up for fast, accurate production of carton and foam packaging dies, from prototype to proof, for teams with short-run needs.

Read the related specsheet notes and printable resources before you order.
Packaging die shops face tight lead times and little room for error. When a carton die or foam insert sample isn’t accurate, it holds up the print run and wastes both board and machine time. Print shops and converters in places like Germiston, Bellville or Gqeberha often have to rework dies at short notice, which means you need your own setup if you want to control quality and meet deadlines.
Big volumes can justify a full die room, but for most South African teams, the work is regular but not high enough to need a dedicated operator. Here, the pain points are blurry sample edges, burnt proof lines, or mismatched forms when you try to cut dies by hand or by eye. Power cuts add to the stress: if the controller or PC trips, you lose your position. A simple mistake like leaving out a clamp or not checking the vacuum hold-down can lead to slipping stock or ruined sheets.
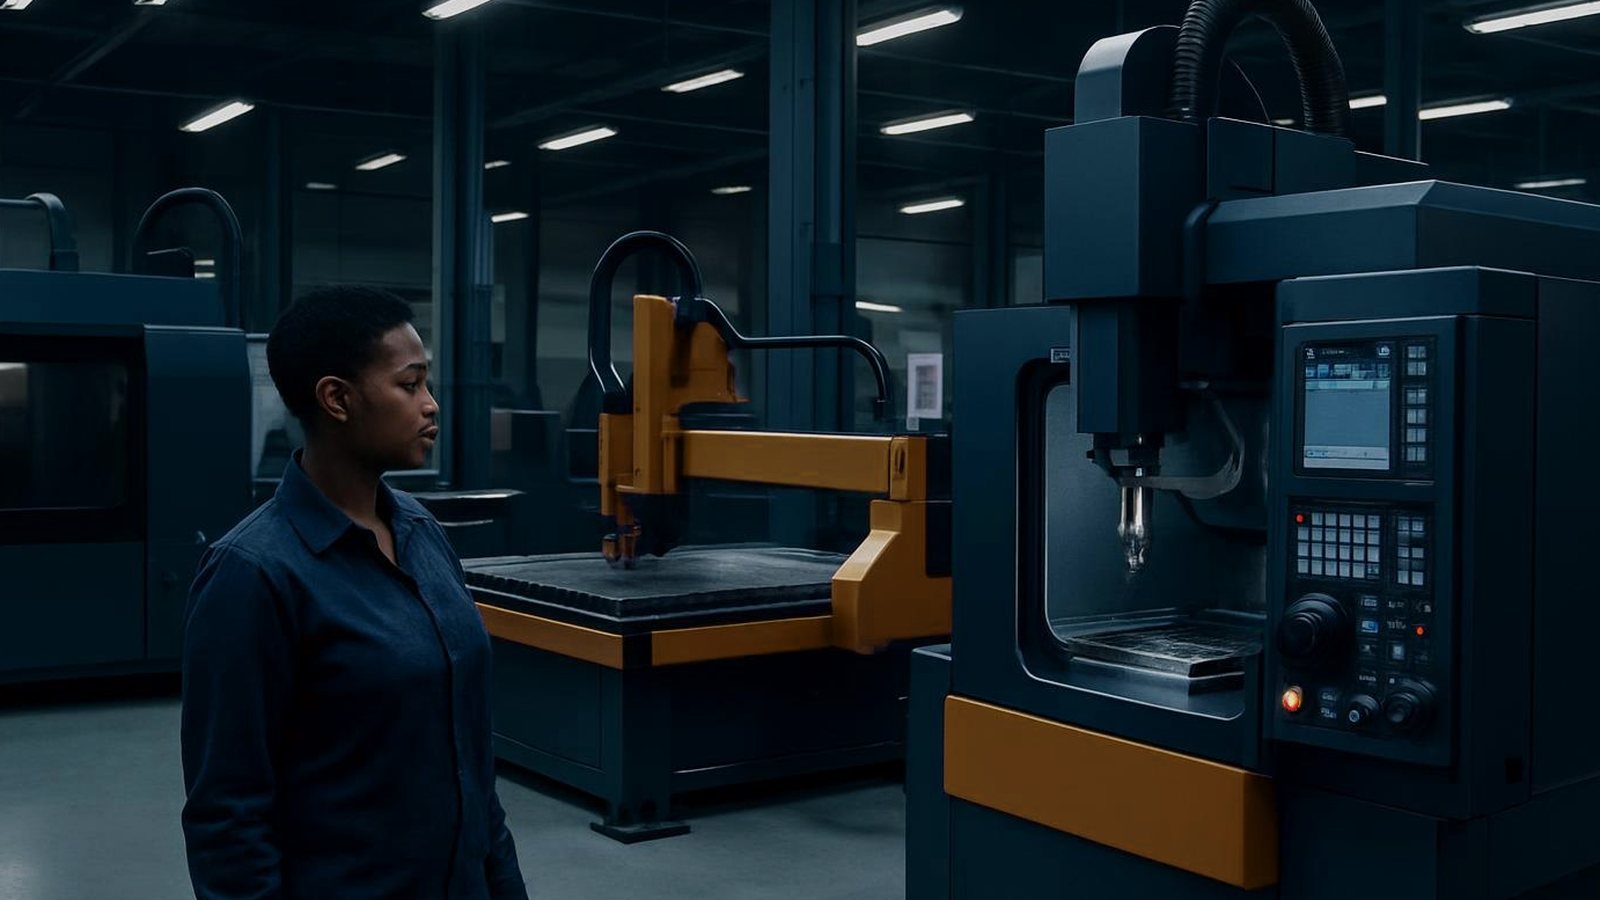
For a packaging die bay we recommend a Feature Router 1212 as your main cutter. Its 1200 x 1200 mm bed suits most carton and foam sheet sizes, and the vacuum bed holds down thin stock without fuss. The USB control and pendant are simple for jobbing runs. For smaller or engraved forms, a Feature Engraver Pro lets you add fine text, score lines or serial marks on dies, which is handy when running multiple sets or customer references.
To keep dust and cuttings under control, especially with MDF or foam, fit a Feature Dust Cell next to the router and engraver. It captures dust straight at the source, which helps you stay within the workplace dust limits under the Hazardous Chemical Agents rules. Use an engrave clamp tray for small die blanks, and keep a labelled collet tray ready for quick tool changes during busy periods.
A well-organised bay makes it easier to get from drawing to proof sample without wasting time or material. At the start of the week, check your router and engraver for clean beds and sharp cutters. Test the vacuum hold-down on scrap board, and set up your clamp tray for the jobs at hand.
Back up the controller and PC with a UPS to handle short power cuts, and always re-home the axes and check work zero before resuming. Keep dust filters clean and empty the bin every shift. On coastal sites like Durban or Gqeberha, cover the machines when idle and oil any exposed steel to prevent rust.
We often see teams skip vacuum checks or use worn cutters, leading to frayed edges or missed cut depths. Don’t forget to check material thickness at the start, as small differences in foam or board can throw off the whole set. Another common slip is running the router too fast on complex forms, which leaves burnt or rough edges.
Always fit the right cutter for the job, and double check your toolpath against the proof drawing before cutting production stock. If you work in a busy print or converting shop, its easy to mix up jobs, keep proofs, dies and blanks labelled and separated by customer. For operator safety, make sure all guards are in place and all team members are trained on the machines, as required by the OHS Act.
Verified Google reviews