Bay
A signage router bay is set up for fast, accurate cutting of acrylic letters, sign panels, and composite shapes that must fit right the first time on site.

Read the related specsheet notes and printable resources before you order.
When you’re running a signage workshop, the pressure is always on to get neat, ready-to-fit pieces out the door without rework. Jobs like acrylic letters, composite shopfront panels, and aluminium sign faces must match site measurements exactly. If edges are rough or film peels off too soon, you’ll waste hours fixing details or lose your profit on site. Gauteng teams often face quick deadlines and power cuts, while Durban workshops battle high humidity, static, and panels that pick up dust or fingerprints in minutes.
The work is repetitive, but every new shopfit or pylon spec brings a different file, colour, or edge treatment. Mistakes usually show up late: a mis-cut panel, the wrong font height, or one missing letter. Keeping files, toolpaths, and cut settings organised is what separates a plant that runs tight from one that fights fires every week.
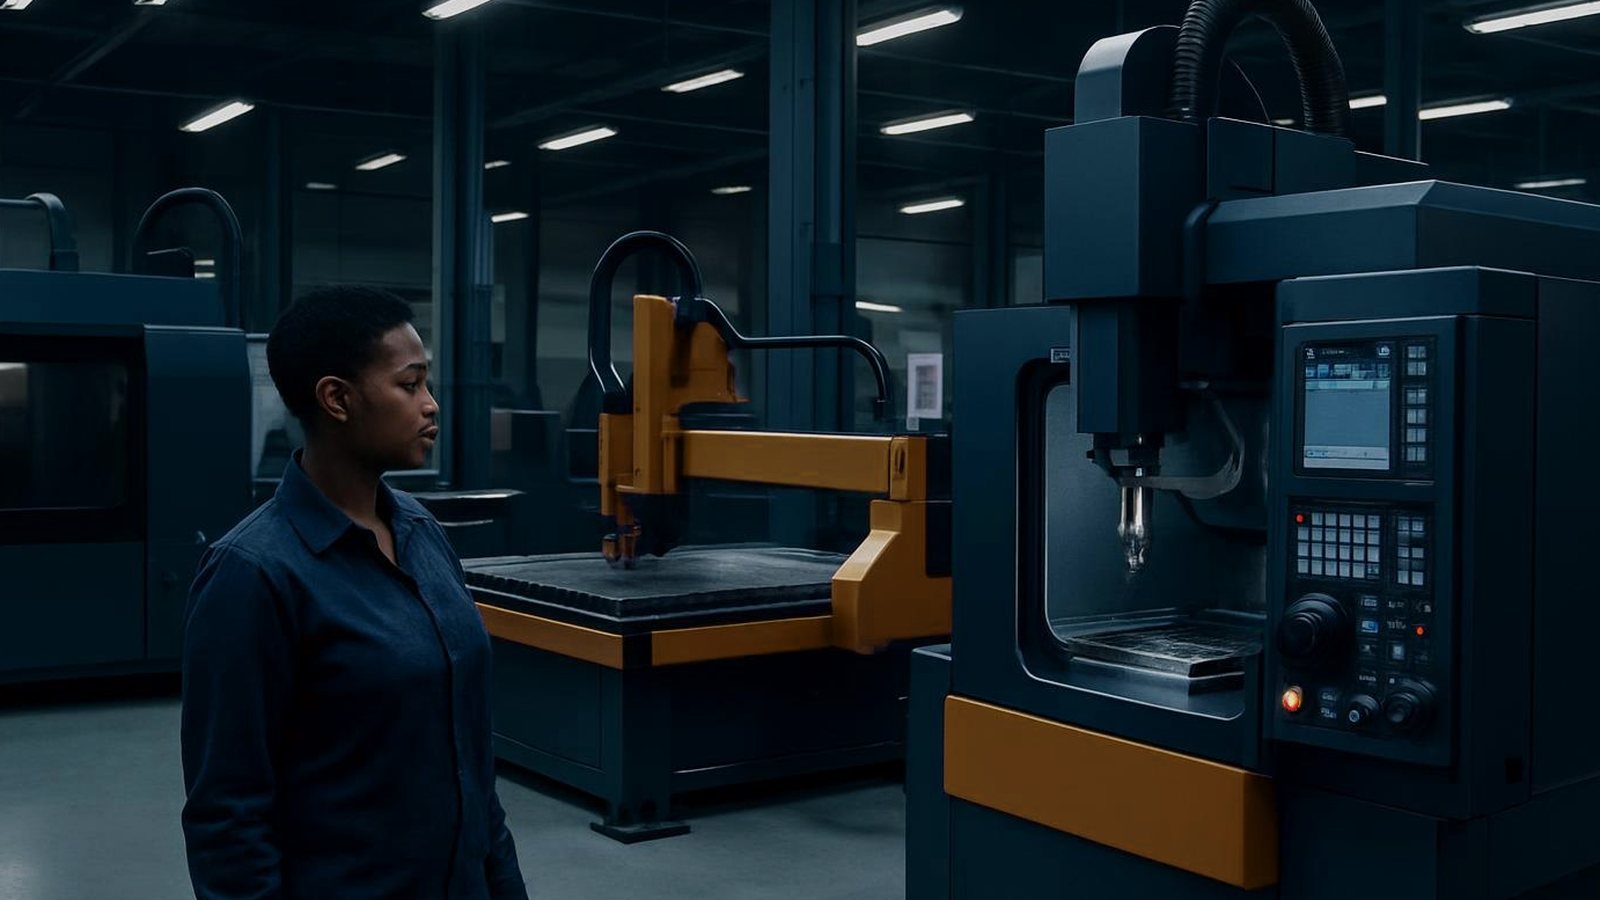
We base a signage router bay around the Feature Router 1212. Its 1200 x 1200 mm bed handles most standard sign blanks, and the vacuum table grips acrylic, PVC, or ACM without manual clamps getting in the way. The matched spindle kit gives you the right collets and a tidy storage tray, which cuts down on lost time and incorrect tool loading. For sharper jobs, pair the router with a Feature Sheet Shear to blank off panels accurately before routing.
Dust extraction is crucial: the Feature Dust Cell captures acrylic and composite dust at source, preventing it from drifting over vinyl prints or sticking to static-prone panels. Add an engrave clamp tray for holding smaller lettering or fiddly shapes. If you’re running a bigger batch, keep a tool crib close by for quick tool swaps and to track what’s sharp and ready to use.
A good signage bay runs on routine. Start every Monday by dusting down the rails and vacuum table, then check the spindle and collet kit for wear or grit. Make sure the Feature Dust Cell filter is clear and the bin is empty before the first cut. Back up the cut files in a shared folder, and label each job with the site, date, and customer so nothing gets mixed.
Before any batch, square off sheet stock on the Feature Sheet Shear and run a test cut on scrap. It’s a small step but can save a full day’s rework. At close each day, wipe down the exposed rails, cover the machine, and check that all offcuts are sorted and panel edges stay protected under film.
A common slip is letting dust build up around the router or leaving filters too long. This chokes airflow and can blow fine dust across your next job, especially in drier Highveld winters. Dont sweep out acrylic chips with compressed air, it just moves fine dust into your rails and bearings. Use the Feature Dust Cell or a proper vacuum to capture it at source.
Power cuts catch some teams off guard. Keep the router controller and PC on a small UPS so you can home the axes gently and re-check zero when power returns. Another mistake is rushing setup or skipping test cuts, leading to panels that are a few millimetres out or letters that need hand-filing. Stick to your file control routine and cover all stacked panels between jobs, especially in the coastal strip from Durban to Gqeberha, where salt air rusts steel fast.
Verified Google reviews